Nymphing for Trout: A Beginner's Guide to Subsurface Fly Fishing
 Cameron Spanos
Written by Cameron Spanos
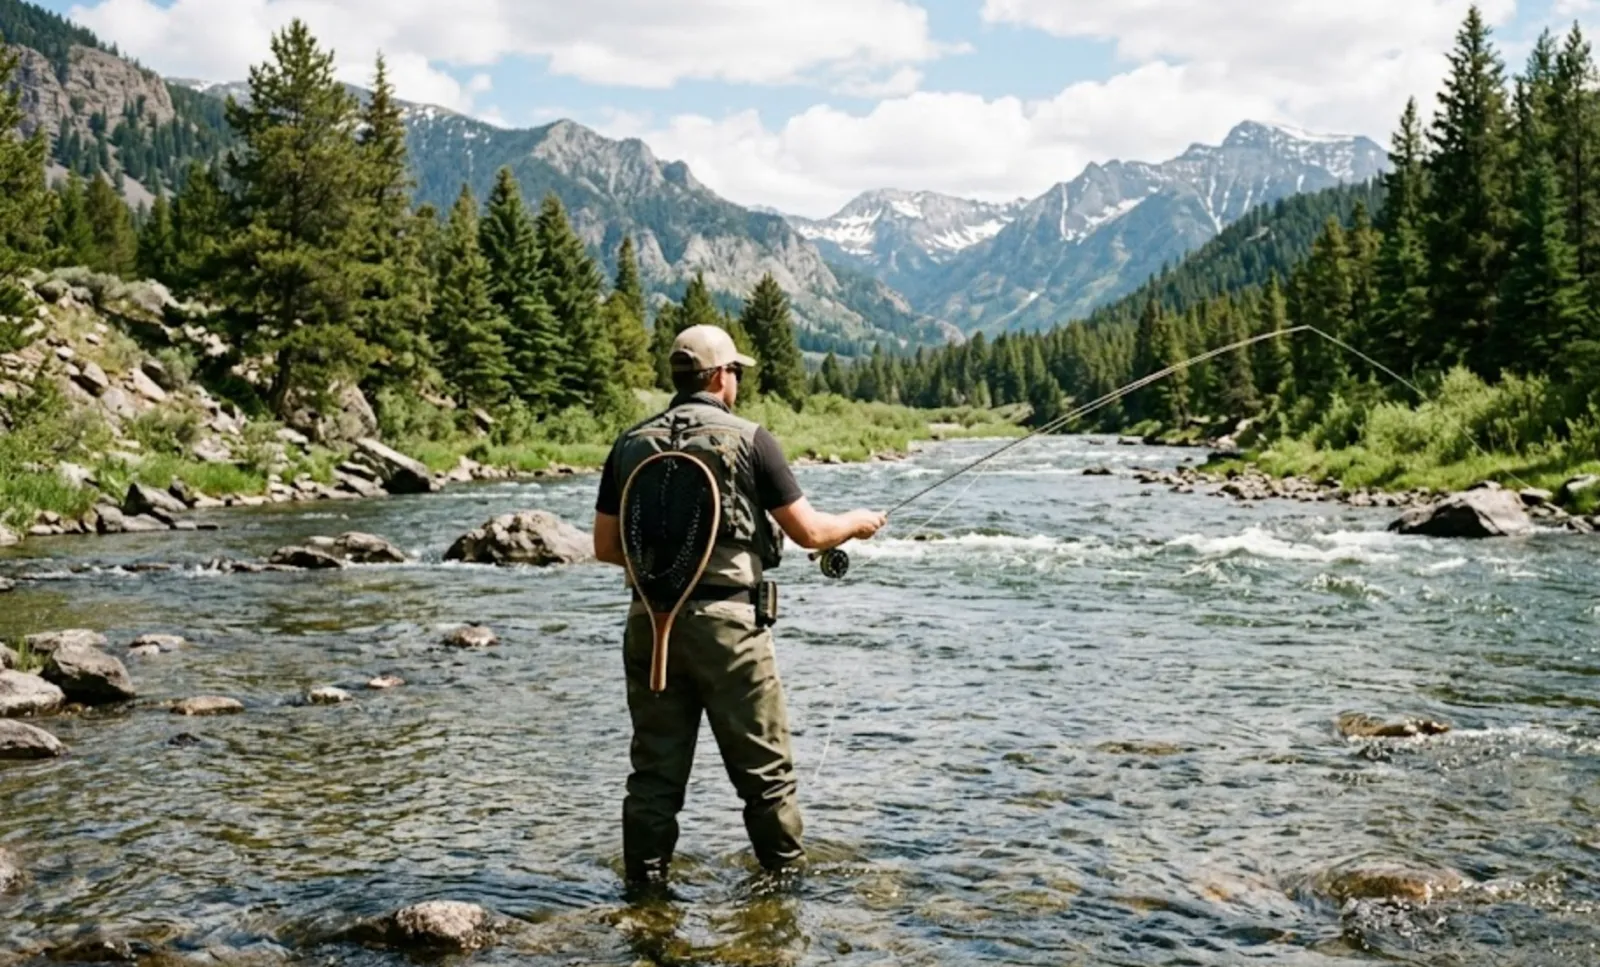
You finally have your fly rod rigged, you're standing in a beautiful trout stream, and nothing is rising. The water looks perfect, but not a single fish is sipping from the surface. Here's the secret every experienced fly fisher knows: the trout are eating, just not where you can see them. That's exactly where nymphing for trout beginners becomes the most important skill you can develop.
Nymphing (fishing weighted artificial flies subsurface to imitate aquatic insect larvae) consistently outproduces dry fly fishing for one simple reason: that's where the food is. This guide walks you through the complete dead-drift nymph rig, from indicator placement to weight selection, reading your drift, setting the hook, and building the logging habit that separates anglers who figure things out from those who guess forever.
Why Does Nymphing Outproduce Dry Flies Most of the Season?
Dry fly fishing is beautiful. It's also situational. Trout rise to surface insects during hatches, and hatches happen, at most, a few hours per day and only during certain seasons. The rest of the time, trout are feeding on what's drifting past them in the water column: mayfly nymphs, caddis larvae, stonefly nymphs, midges, and aquatic worms.
Fisheries scientists and guides widely report that trout feed subsurface roughly 80 to 90 percent of the time. That's not a quirk of winter or low-light conditions. That's how trout feed year-round. Learning subsurface fly fishing techniques means you're presenting flies where trout are actually looking for the vast majority of every fishing day.
Nymphing also works in all weather and all seasons. No hatch required. No surface activity required. Drop your nymph to the right depth with a natural drift, and fish will eat it in January just as readily as in May.
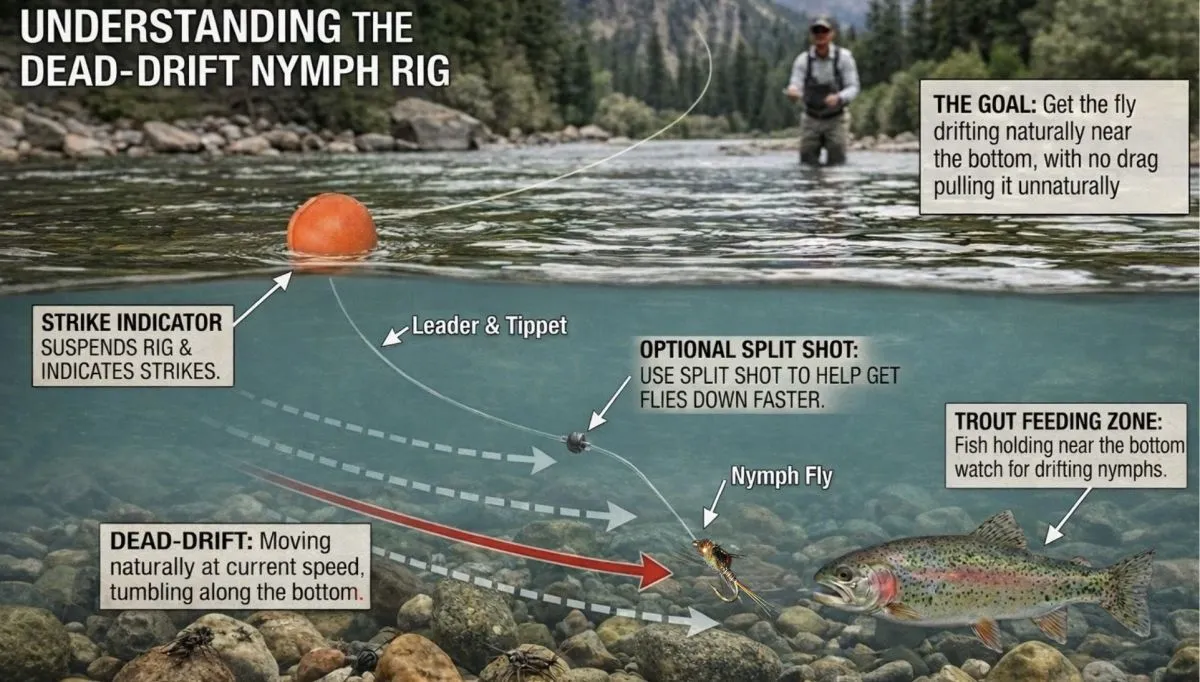
Understanding the Dead-Drift Nymph Rig
The goal of a dead-drift nymph rig is simple: get a fly drifting naturally near the bottom of the river, at the same speed as the current, with no drag pulling it unnaturally. Trout are wired to detect anything moving at the wrong speed or in the wrong direction. A good dead drift looks exactly like a real nymph tumbling helplessly downstream.
The classic indicator nymph rig has three key components: a strike indicator, split shot weight, and your fly. Each one has its own logic.
You may also be interested in Euro Nymphing vs. Indicator Nymphing: Which to Learn First?
Choosing and Placing Your Strike Indicator
A strike indicator is your early warning system. It telegraphs every subtle take before you'd ever feel it in the rod. Select the smallest indicator that will float your fly and weight combo. An oversized indicator creates too much resistance and will drag your nymph unnaturally. Foam indicators and yarn are both effective; foam is easier for beginners to manage.
Placement is critical. The standard rule: set the indicator at 1.5 times the water depth above your fly. Fishing a 4-foot-deep pool? Your indicator goes 6 feet up the leader. This gets your nymph within inches of the bottom, exactly where trout hold and feed in most rivers. As you move through shallower or deeper water, slide the indicator to match.
Weight Selection and Split Shot Placement
Proper weight selection is the part beginners get wrong most often. Too little weight and your fly never reaches the zone. Too much and you're snagging bottom on every cast. The right amount keeps the fly ticking the bottom occasionally: contact, but not snagged.
A reliable method from guides: start heavier than you think you need, then back off. Make four casts. If you never feel the fly tick the bottom, add weight. Once you're hanging up on almost every cast, remove one small split shot. That's your starting point. Place your split shot 12 to 18 inches above your fly, far enough that it doesn't impede the fly's movement, close enough to keep the fly down in current.
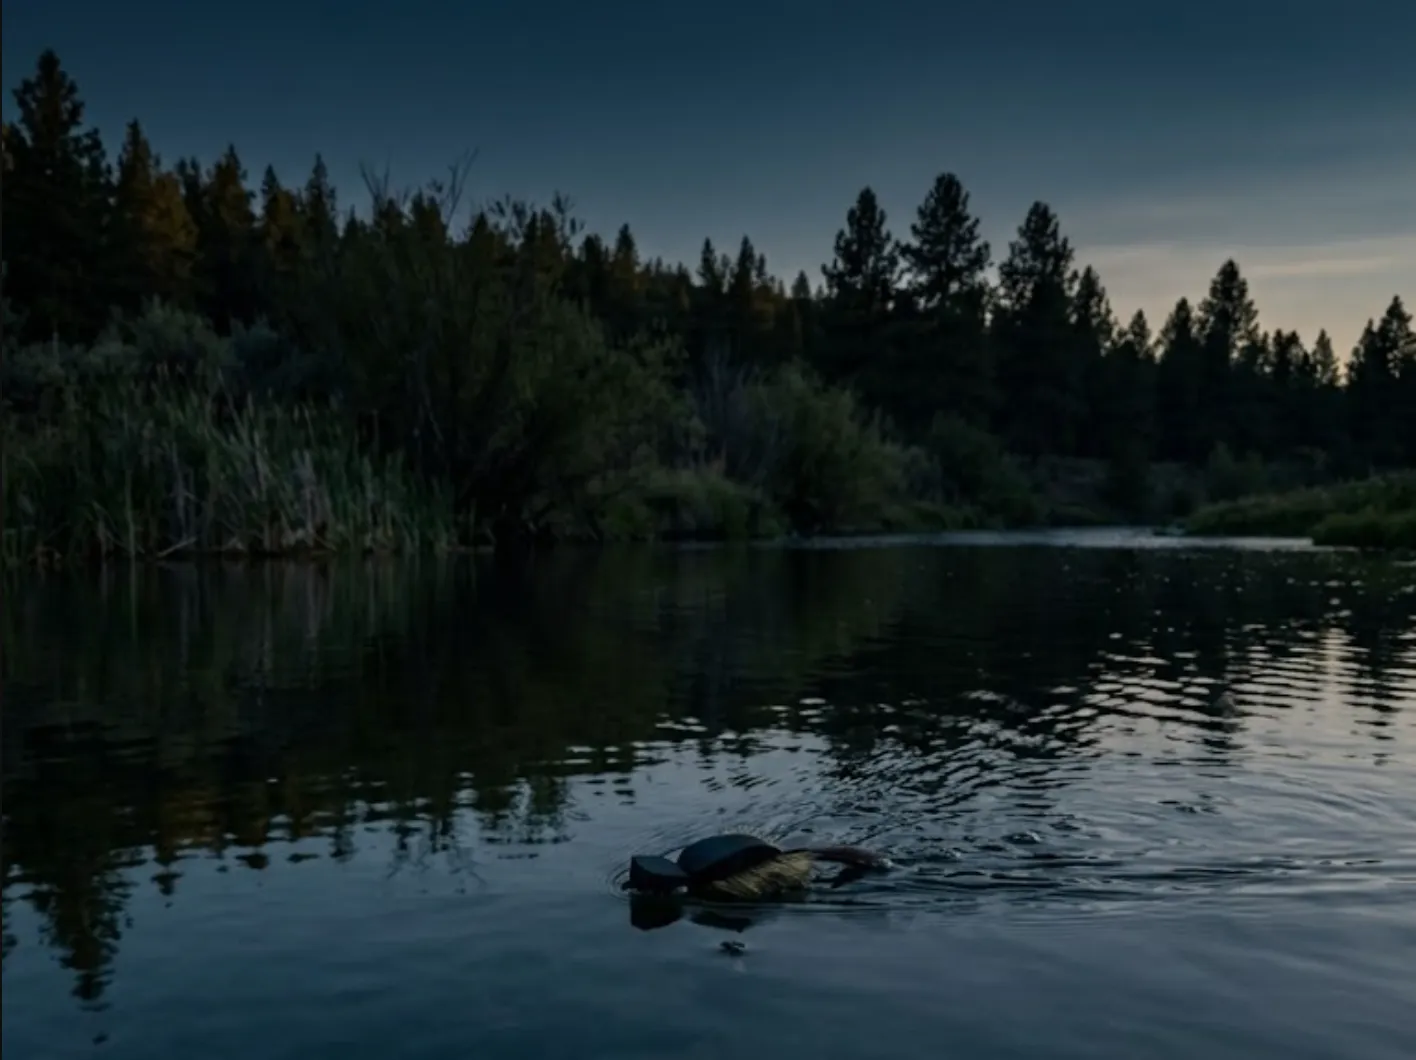
You might also enjoy: Mousing at Night for Big Brown Trout in Summer
In faster, deeper water you'll need more weight. In slow, shallow tailouts, pull some off. Weight selection nymphing isn't set-and-forget. It's a dial you adjust throughout the day.
Tippet Size and Length
Connect your fly to the rig with 5X or 6X fluorocarbon tippet, 2 to 4 feet long. Fluorocarbon is less visible underwater than monofilament and sinks naturally, helping the fly get down. A longer tippet section gives the fly more freedom to move naturally in the current. Keep tippet diameter light. Heavier tippet creates drag and spooks fish in clear water.
Reading the Water: Where to Put Your Nymph
Trout don't hold randomly in a river. They position where they can intercept food with minimum energy expenditure. The current delivers the food; the trout just needs to be in a position to eat it without fighting the full force of the flow.
For nymphing, focus on these zones:
- Seams: where fast and slow water meet. Trout sit in the slower water and dart into the seam to grab nymphs tumbling through.
- Riffles: shallow, broken water that's loaded with aquatic insects. Often overlooked, but excellent for nymphing.
- Deep pools: especially the head and tail of pools where current concentrates food.
- Tailouts: the shallow, slower water at the bottom of a pool. Trout feed actively here, especially in low-light conditions.
A key principle: adjust your indicator depth as you move through different sections of the river. Slide it up for deeper water, down for shallower runs. Many beginners set their indicator once and wonder why they stop catching fish when they wade into a new stretch.
Getting a True Dead Drift
Casting is only half the battle. Once your rig hits the water, your job is to manage the line so your indicator and fly drift at exactly the same speed as the current, no faster, no slower. Anything else is drag, and drag is the primary reason beginners miss fish they never knew were there.
Immediately after your cast lands, throw an upstream mend. Flip the belly of your fly line upstream of your indicator. This gives you extra time before the current pulls the line downstream and drags the fly. As the drift continues, keep your rod tip high and follow the indicator downstream, feeding line smoothly to extend the drift.
The high-stick method works well in shorter-range situations: lift most of your fly line off the water entirely, leaving only leader and tippet in contact with the current. Less line on the water means less surface area for drag to grab. Watch your indicator. It should be traveling with the current, never racing ahead of it or lagging behind.
You may also be interested in Best Polarized Fishing Sunglasses Under $50
Strike Detection and Setting the Hook
Here's where most beginners lose fish: hesitation. Trout suck in a nymph and spit it out in less than a second. By the time you're sure something happened, the fish has already moved on.
Watch your indicator constantly. Set the hook on any of these signals:
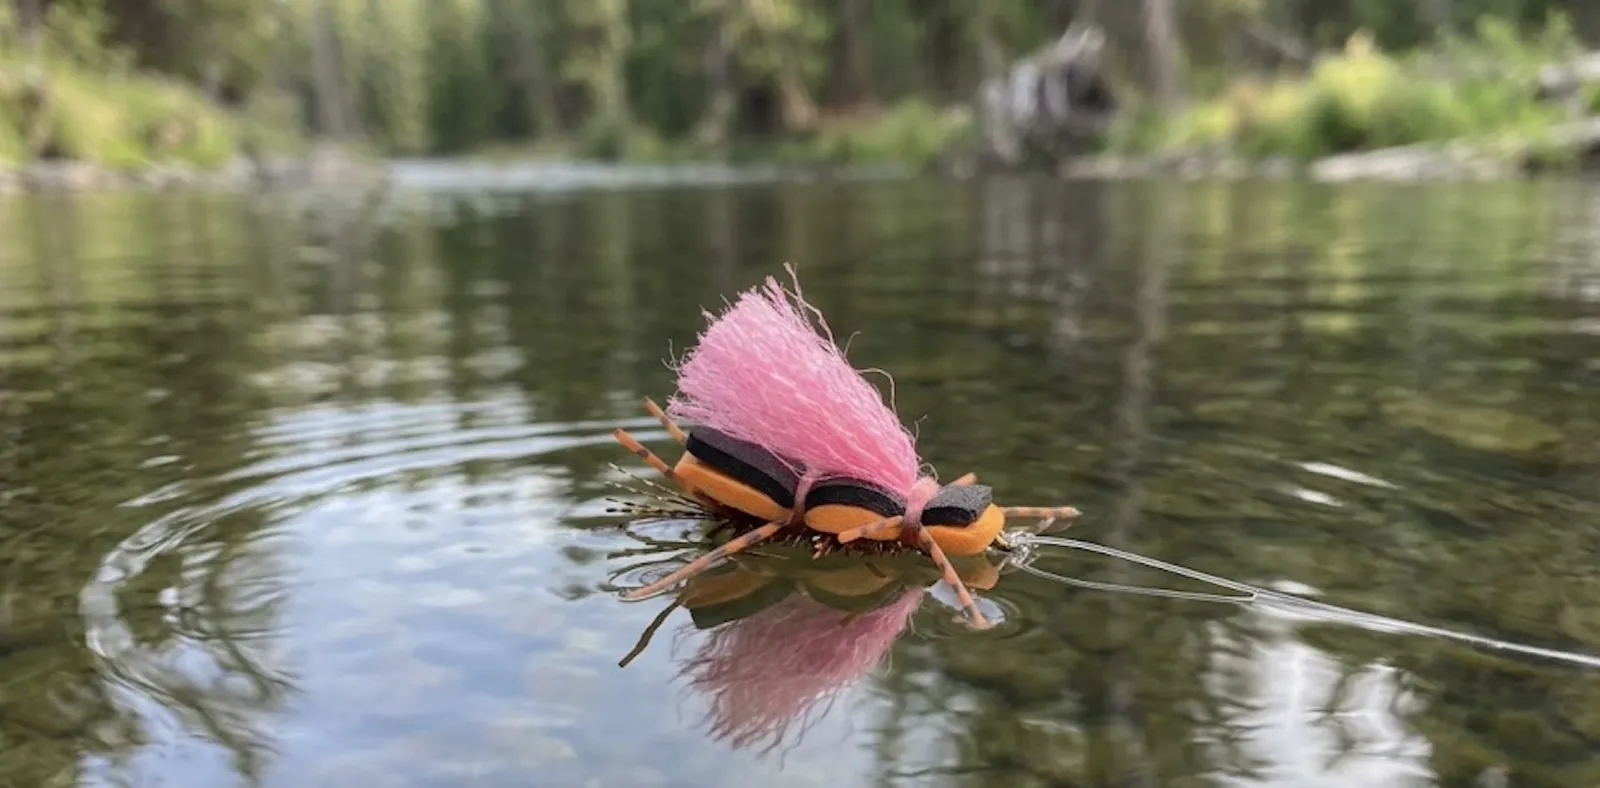
You might also enjoy: Hopper Season Setup: The Three-Fly Rig That Replaces Your Dry-Dropper in July
- A pause or hesitation in the drift
- A sideways twitch of the indicator
- The indicator diving under the surface
- Any movement that doesn't match the current
When you see it, set immediately. Lift the rod tip sharply upstream or sideways. Don't wait to confirm. You will set the hook on rocks and snags, and that's fine. The cardinal sin of nymphing isn't setting on a snag. It's not setting on a fish. Experienced nymphers set aggressively on any anomaly and let the fish tell them if they were right.
If you're consistently missing strikes, set faster. If the indicator never moves at all, your fly is probably not in the zone. Adjust depth before you change flies.
Logging Your Rigs: Why Data Makes You a Better Nympher
Here's the part most guides skip entirely: nymphing is deeply repeatable, and every trip generates data you can use on the next one. The angler who logs their sessions builds a personal database of what works at what depth, in what conditions, on what water.
After each outing, record:
- Water depth and indicator distance: what depth were you fishing when fish started eating?
- Weight used: number and size of split shot for the conditions
- Fly pattern and size: what nymph produced, and at what depth in the water column
- Water temperature: cold water changes fish behavior and feeding depth significantly
- Time of day and conditions: morning mends vs. afternoon drifts often require different rigs
The Bushwhack app is built for exactly this kind of session tracking. Log your rig details, depth notes, and conditions after each trip, and patterns emerge quickly. You'll discover that on this particular stretch of river, a 5-foot indicator depth with two small split shot produces fish in the morning, but a 7-foot set with heavier weight works the afternoon run. That's knowledge you can't get from any article, only from your own recorded experience.
Most nymphers spend years fishing guesswork when they could be fishing data. Start logging from your first trip and you'll outlearn the guy who's been winging it for a decade.
Your First Nymph Rig: Keep It Simple
Every expert nympher started with one fly, one indicator, and one size of split shot. Don't let gear complexity stop you from getting on the water.
Start here:
- Fly: Hare's Ear or Pheasant Tail Nymph, size 14. These two patterns have caught trout on every stream in the world.
- Weight: Two small split shot, 14 inches above the fly
- Indicator: Small foam or yarn indicator, set at 1.5x your average water depth
- Tippet: 2 feet of 5X fluorocarbon
Fish this rig through every likely-looking seam and riffle. Adjust depth as you move. Set the hook on anything that looks wrong. Take notes after. That's nymphing, and it's the most productive way to fly fish for trout that exists.
When you're ready to start tracking which rigs work best on your home water, Bushwhack makes it easy to log every session and build a personal record of what catches fish. Your future self will thank you the moment you wade into that same stretch next spring.
Get fishing tips in your inbox
New guides, seasonal tactics, and gear picks — about once a month, no spam.